Klicky Probe for Vorondesign V1.8,V2.4, Legacy and Trident printers
Here you will find the necessary files and documentation to print and setup your own klicky probe. Don’t forget to download all the necessary parts.
This directory has the specific klipper macros (and a link to RRF scripts), STL files properly oriented for printing and community mods for the respective printer.
This is an intermediate/advanced configuration, it’s recommended to first build your Voron to the stock configuration That way, you will be better familiarized with the concepts that are presented here and will have a much more enjoyable experience.
You can find more information about the Voron printers at the website or go check the discord, for the record, i own one, a v2.4, this is how i would describe them “A Voron is a fast high quality printer, i print with much better quality the perimeters at the draft speed of my old bedslinger. It also has a big community with lots of documentation and new ideas.”
Above all, have fun and be excellent to one another, now to the instructions.

Mounting options
The probe dock is mounted either to the frame or to the XY gantry, allowing it to be used as a Z endstop if desired as it’s Z is fixed relative to the toolhead.
There are several gantry extrusion mounts possible, all attached between the A end B motors:
| Fixed * | Variable * | Fixed sidemount left * ** | Fixed sidemount right * ** | Legacy fixed |
|---|---|---|---|---|
 |
 |
 |
 |
 |
| fixed docking position | adjustable docking position | fixed docking position, allows for purge bucket mod | fixed docking position, allows for purge bucket mod | fixed docking position (Legacy) (designed by Baltojikale) |
*usable on the V1.8, V2.4 and Trident **attempts to put the dock to the side of the purge bucket, there is also a mod to allow the usage of the fixed dock
There are also some more mounting options on Usermods, integrated magnets in the AfterBurner toolhead and some complementary items. Check it out
This mod is also on VoronUsers repository
Probe options
Right now, there are two probe attachment options, each with two probe types.
Regular Klicky
First klicky probe, based on the Quickdraw probe, with an added third magnet for added stability and fixed dock gantry setups.

It uses magnets to secure the probe to the mount and also to make the electrical connection. The magnets can be glued to prevent them from coming loose. It supports a microswitch probe and Unklicky (invented by DustinSpeed) (self built probe, that so far surpasses the microswitches in common use) based probing.
KlickyNG
New enclosed magnets probe, it does not require glue to help prevent the magnets from coming loose, magnets are also self aligning. This approach only uses common and easy to source parts.

Also supports microswitch probe and Unklicky (invented by DustinSpeed) (self built probe, that so far surpasses the microswitches in common use) based probing.
Bill of Materials (BOM)
Tools:
- 1.5mm Drill (optional)
- Multimeter to check for Continuity
- Super Glue (optional)
- Soldering Iron for the heat inserts
Probe:
- 1x microswitch (the omron D2F-5 or D2F-5L (removing the lever is required), other also work with reduced accuracy or repeatability (mostly anecdotal evidence, needs a proper sudy)
- 2x M2x10 mm self tapping
- 4x 6 mm x 3 mm magnets (N35 magnets work)
AB/SB mount:
- 3x 6 mm x 3 mm magnets (N35 magnets work)
- 2x M3x8 mm SHC Screws
- 2x 10cm 22AWG cable to connect the Klicky Probe to the terminal
Probe dock:
- 1x 6 mm x 3 mm magnets (N35 magnets work)
- 2x M3x16 mm
Probe dock mounts:
| Fixed | Variable | Fixed sidemount left | Fixed sidemount right | Legacy fixed |
|---|---|---|---|---|
| 2x M3 threaded insert M3x5 mmx4 mm | 10x M3 threaded insert M3x5 mmx4 mm | 4x M3 threaded insert M3x5 mmx4 mm | 4x M3 threaded insert M3x5 mmx4 mm | 2x M3 threaded insert M3x5 mmx4 mm |
| 2x M5x10 mm | 2x M5x10 mm | 2x M5x10 mm | 2x M5x10 mm | 2x M5x10 mm |
| 2x M5 t-nut or equivalent | 2x M5 t-nut or equivalent | 2x M5 t-nut or equivalent | 2x M5 t-nut or equivalent | 2x M5 t-nut or equivalent |
| 8x M3x8 mm | 2x M3x8 mm | 2x M3x8 mm |
Sourcing
To get the best experience, please consider purchasing from the trusted list of suppliers bellow.
Parts location
The Regular probe STL’s are located here. KlickyNG probe STL’s are located here.
The printer specific STL’s are located here.
The CAD with all the parts are here.
What to print
Probe
- 2x KlickyProbe_v2.stl (keeping a spare is always a good idea)
Helpers to pressfit the probe magnet
-
Probe_magnet_pressfit_helper.stl
-
Probe_magnet_holder.stl
-
Probe_pressfit_holder.stl
AB/SB mount
- KlickyProbe_AB_mount_v2.stl
Helpers to pressfit the probe magnet
-
Mount_magnet_pressfit_helper.stl
-
Mount_magnet_holder.stl
-
Mount_pressfit_holder.stl
Probe dock
- Probe_Dock_v2.stl
Probe dock mounts
| Fixed | Variable | Fixed sidemount left | Fixed sidemount right | Legacy fixed |
|---|---|---|---|---|
| Dock_mount_fixed_v2.stl | Dock_mount_variable_pt1_v2.stl | Dock_sidemount_fixed_v2.stl | Dock_sidemount_fixed_v2.stl | Legacy_dock_mount_fixed_v2.stl |
| Dock_mount_variable_pt2_v2.stl | Dock_sidemount_left_v2 | Dock_sidemount_right_v2 | ||
| Dock_mount_variable_pt3_v2.stl | ||||
Printing instructions
Recommended printing settings:
- initial layer height:0,24
- layer height: 0.2mm
- bottom/top/perimeters: 4
- infill: more than 23%
- infill type: Cubic
- Thin walls: On
It was tested and printed with ABS, might work on other materials, if you try, let me know how it worked out.
Assembly
Step 1 - Dock mount and Probe Dock assembly
- 2x M3 threaded insert M3x5 mmx 4 mm
- 2x M3x20 mm
- 2x M5x10 mm
- 2x M5 t-nut or equivalent
- 1x 6 mm x 3 mm magnets
- Super Glue
Here we will use the Fixed dock as an example, the other docks are very similar.
Install your heat set threaded inserts like you did within your Voron build.

Install the magnet in the Probe dock, make sure that the magnet is fully inserted, it’s top should be below the plastic.
Screw the dock onto the Dock mount with the two M3x20mm screws.
Secure the magnet with a dab of super glue (not a lot, just a drop).

Mount the Probe Dock to the back rail of your gantry with the two M5x10 and the two roll in nuts.
Step 3: Probe Assembly
Please go to the probes directory and choose the one you want to install, the instructions are also there.
Step 4: AB/SB Mount installation and wiring
For the installation you need the following parts:
- 2x M3x8 mm SHC Screws

Connect the two wires from the Klicky Probe to the GND and Signal of the recommended Probe signal for your board, you can even leave the BAT85 that is necessary for the 24v inductive probes. Just take care to leave the +24V of the inductive probe disconnected.
When testing the docking and attachment of the probe, make sure that the back magnet of the probe and the dock magnet do not touch, if they do, it will make attaching the probe much harder.
Step 5: klipper configuration
Unfortunately, I do not know how to document RRF probe configuration, so here is only Klipper configurations.
As of right now, klipper and RRF have no inbuilt support for a removable probe, fortunately, it does support very robust macro programming, so you will need to add macros to be able to dock and attach the probe as necessary, as well as supporting the rest of the functions that require the usage of a probe.
The macros and instructions on how to configure are located on the Macro directory, you need to check that before continuing on the build, there are also some RRF scripts.
For the printers that are covered here, these are the recommended configuration on the klicky-variables.cfg:
variable_verbose:               True  # Enable verbose output
variable_travel_speed:          200   # how fast all other travel moves will be performed when running these macros
variable_dock_speed:            50    # how fast should the toolhead move when docking the probe for the final movement
variable_release_speed:         75    # how fast should the toolhead move to release the hold of the magnets after docking
variable_z_drop_speed:          20    # how fast the z will lower when moving to the z location to clear the probe

variable_safe_z:         	    25    # Minimum Z for attach/dock and homing functions
# if true it will move the bed away from the nozzle when Z is not homed
variable_enable_z_hop:          CHECK_COMMENT  # True on the v2.4, False on v1.8, Trident and Legacy

#Dock move (the final movement required to release the probe on the dock)
Variable_dockmove_x:                40    # Final toolhead movement to release
Variable_dockmove_y:                0     # the probe on the dock
Variable_dockmove_z:                0     # (can be negative)

#Attach move (the final movement required to reach the dock and avoid the arms with the probe attached)
Variable_attachmove_x:              0     # Final toolhead movement to Dock
Variable_attachmove_y:              30    # the probe on the dock
Variable_attachmove_z:              0     # (can be negative)
This example uses the default Voron V2 SKR1.4 configuration, with the probe connected to the P0.10 pin, please update it to your specific configuration.
[probe]
pin: ^P0.10
x_offset: 0
y_offset: 19.75
z_offset: 6.42
speed: 5
samples:3
samples_result: median
sample_retract_dist: 2.0
samples_tolerance: 0.01
samples_tolerance_retries: 3
Also, make sure that the horizontal_move_z on the bed mesh and QGL is high enought that the probe will not hit the bed (needs to be at least 8mm)
[bed_mesh]
horizontal_move_z: 10

[quad_gantry_level]
horizontal_move_z: 10
I recommend a probing speed between 3mm/s and 10mm/s, you may experiment to see what is the better speed for your machine.
Please confirm that if you are using the probe input, that the pull-up is enable by using the ^ sign, normally the endstop pins have a hardware solution that does not require this configuration.
Depending on your switch you may need to add a ! to invert that pin (normally open vs. normally closed).
Normally the endstop pins use a hardware solution, so it is not necessary.
There is now an arrow on the probe telling you where should the switch pole be to have the correct offset.
Z endstop and Probe configuration (virtual Z endstop)
If you want to use the Klicky Probe as your Z endstop, please read this excellent documentation by Takuya and Clee.
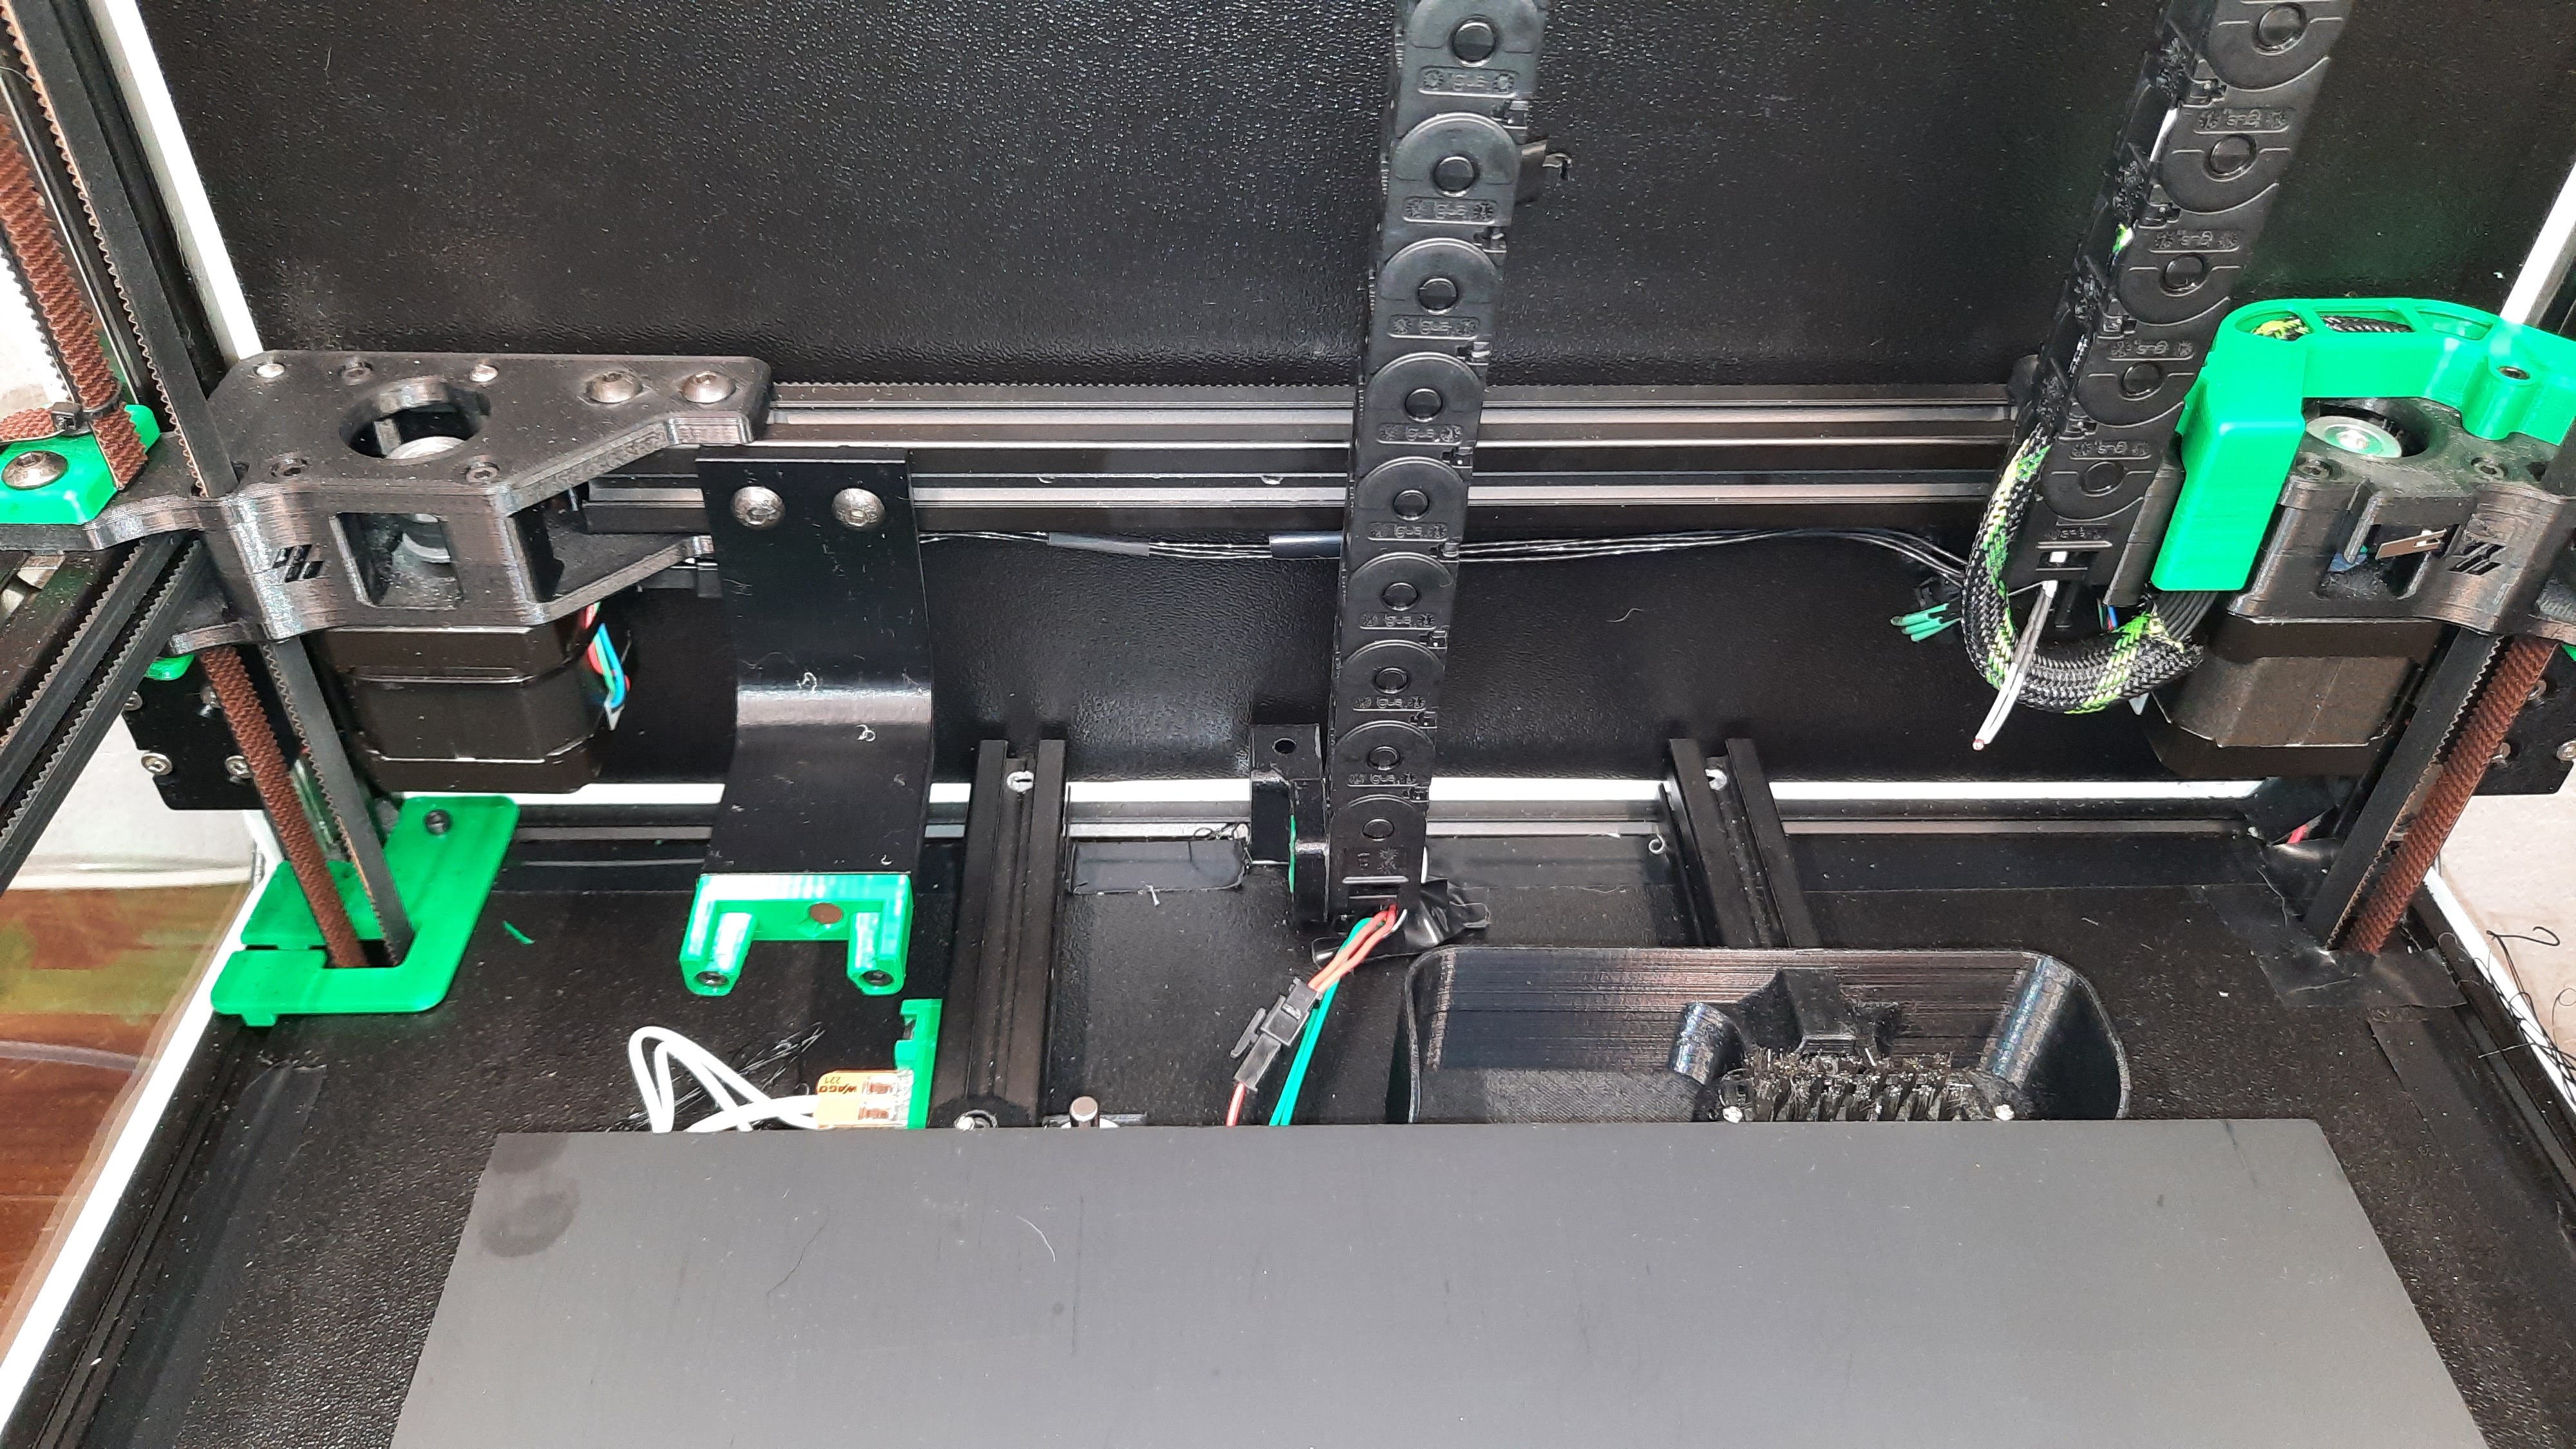
Assembled Klicky Probe
Step 6: klipper Dock/Undock configuration
Y max position adjustment
If you are using a hall sensor as endstop, you need to make sure that on your Y maximum, the gantry is almost hitting the AB motor mounts, you can have a Y position maximum “behind” the Y endstop position, like this:
[stepper_y]
position_endstop: y
position_max: y+2
Even in the stock Y endstop with a lever, you normally can add a extra mm of Y travel due to the lever extra trigger distance:
[stepper_y]
position_endstop: y
position_max: y+1
Adjust Probe Pickup Position
One of the last things we need to do is to adjust the probe pickup position.
Make sure that the x and y axis are homed and the probe is manually attached to mount, it is easier to do with the hotend and fan duct removed.
Now manually (with gcode commands) move the toolhead to the front of the probe dock, adjust X so that moving along Y does not hit the dock arms, note the X-Position.
example (for a Ymax of 305):
G0 X20 Y270
G0 X20 Y280 (you see that the right side will hit the dock arm)
G0 X20 Y270
G0 X19 Y270
G0 X19 Y280 (still hitting the dock on the right side)
G0 X19 Y270
G0 X18 Y270
G0 X17 Y280 (now does not hit)

Your variable_docklocation_x is 17
Now manually (with gcode commands) move the toolhead to the Xvariable_docklocation_x Y(max-40) position. In the example above, it would be “G0 X17 Y265”.
The probe and dock magnet can be 1/2 mm away from each other, that is ok, they will attact when the probe is released from the mount.
Now move the toolhead 40mm to the side and check if the probe is docked securely. If it does, perfect, variable_docklocation_y is your Ymax, if not, you need to either increase the Ymax or add a dock extender and repeat the process.
Open your klicky-variables.cfg and find the #dock location section and edit the following two line
variable_docklocation_x:
variable_docklocation_y:
Test now with the ATTACH_PROBE and DOCK_PROBE if it docks and is removed correctly, some common points that can give problems are:
- the dock magnet is touching the back probe magnet, they cannot touch, push them further in
- the probe is hitting the dock arms, please move the toolhead more to the side where the probe does not hit, by 1mm at a time, until it works
- the probe is falling after being release, the dock is too far away, you can insert one or several 1mm spacer to move the dock and solve this
If you have your Dock mounted to the bed then you need to adjust the variable_docklocation_z: too.
Automatic Z Calibration
This requires manual klipper plug-in configuration and installation, it is recommended to be familiar with klipper before attempting this
If you want to use the Z endstop switch of the Voron to calculate the Z-Offset, use the automatic Z calibration. Besides the macros from this repository, you will need to install the Z autocalibration plugin, the recommended way is via moonraker.
Sometimes after installation it’s necessary to run the install script manually, if you installed using the moonraker mothod above, run “/home/pi/klipper_z_calibration/install.sh” on the raspberry pi command prompt.
Probe_accuracy and Probe_calibrate
WARNING when you are doing PROBE_ACCURACY, make sure that the probe is above the bed, the PROBE_ACCURACY macro does not move the toolhead in X or Y.
Firsts tests
Before starting to test klicky, and from past mistakes, please remove your PEI sheet (the probe works on the magnetic sheet) and
If possible, change your printer maximum speed, acceleration and Z current, on klipper with TMC steppers, this is how you do it:
SET_TMC_CURRENT STEPPER=stepper_z CURRENT=0.6
SET_TMC_CURRENT STEPPER=stepper_z1 CURRENT=0.6
SET_TMC_CURRENT STEPPER=stepper_z2 CURRENT=0.6
SET_TMC_CURRENT STEPPER=stepper_z3 CURRENT=0.6
SET_VELOCITY_LIMIT ACCEL=1000
SET_VELOCITY_LIMIT VELOCITY=100
Enjoy your Klicky Probe!
Dock and undock video
https://user-images.githubusercontent.com/16675722/122302371-eb9c4e00-cef9-11eb-91d3-3aded131bae0.mp4
It is working very well, if you decide to use it, give me feedback, either here, or on discord, my discord user is JosAr#0517.
By standing on the shoulders of giants, lets see if we can see further.